How to create a WordPress to Webflow migration with PowerImporter

To get started, you will need to access to:
- your PowerImporter account here
- your WordPress website
- your Webflow account, and have at least one CMS collection set up for your blog content.
This is a reminder of what you can export from WordPress to Webflow CMS:
- Post title
- Post content
- Featured image
- Slugs
- Authors (name/slug/email)
- Categories (name/slug)
- Tags (name/slug)
- Published date
If you are migrating authors, categories and tags, you will need to have collections set up in Webflow for these too.
You will also need to set up reference / multi-reference fields to connect your blog posts to authors, categories and tags. Check out this demo on how to set reference fields in Webflow.
This is how PowerImporter will handle the different publishing statuses from WordPress to Webflow:
- Published in WordPress > Published in Webflow
- Draft in WordPress > Draft in Webflow
- Pending review in WordPress > Draft in Webflow
This is how PowerImporter will handle the different visibilities from WordPress to Webflow:
- Public in WordPress > Published in Webflow
- Private in WordPress > Published in Webflow
- Password protected in WordPress > Published in Webflow
If you do not want your Private or Password protected blog posts to be exported to Webflow, you can either set these as Draft in WordPress (they will appear as drafts in Webflow), or delete them from WordPress before you do your export (they will not be exported).
Remember the export can only be made:
- from WordPress posts (not pages)
- to a Webflow CMS site with a collection already set up for the content you are importing from WordPress (not static pages).
View the video tutorial:
Follow the step-by-step instructions below:
Step 1: Create a new sync in PowerImporter
- Once you have created your PowerImporter account, navigate to "Syncs" on the top right corner.
- Choose the "Wordpress to Webflow migration"
- Click on "Create a migration for Wordpress" to create your first Wordpress to Webflow sync
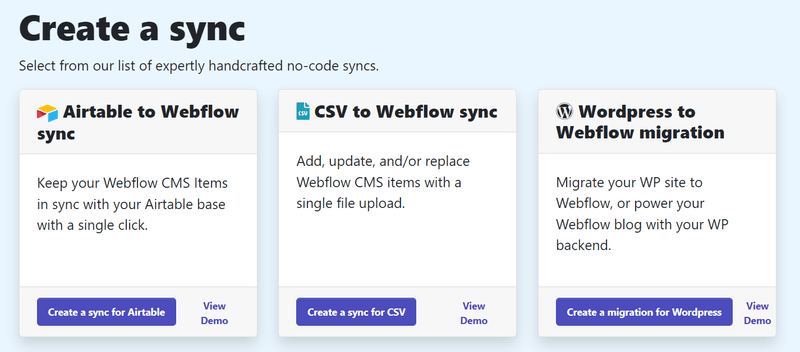
PowerImporter will take you through all the steps from now on :-)
Step 2: Connect to Webflow
Connect to Webflow by clicking on "Login". Click here to see how the logging to Webflow will look like
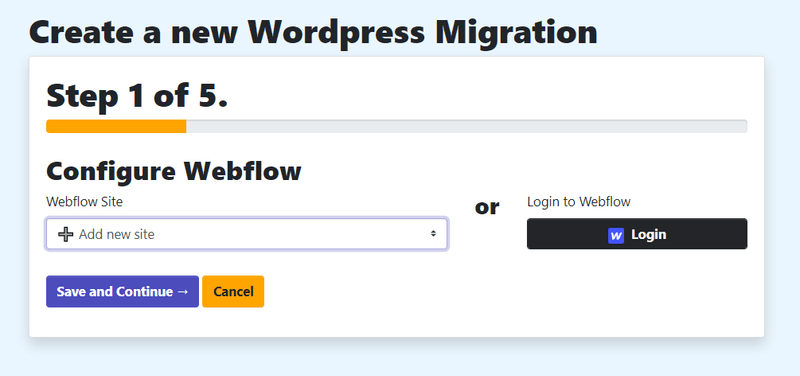
- Choose the website you want to connect in PowerImporter.
- Click on "Authorise App"
- You will be taken back to PowerImporter
- Click on Save and Continue
Please note that if your connected Webflow site does not have collections set up, you will see this error message:
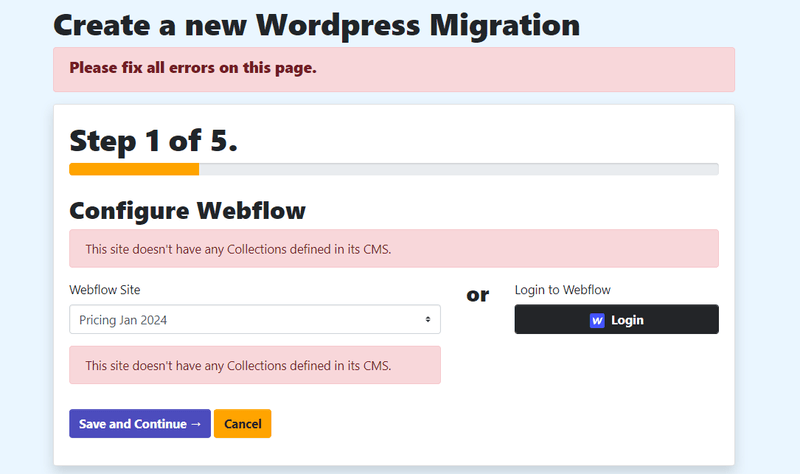
Step 3: Upload your Wordpress export file
- You will now prepare and upload your XML file containing your Wordpress website data.
- Click here to see how to prepare your data in XML before uploading.
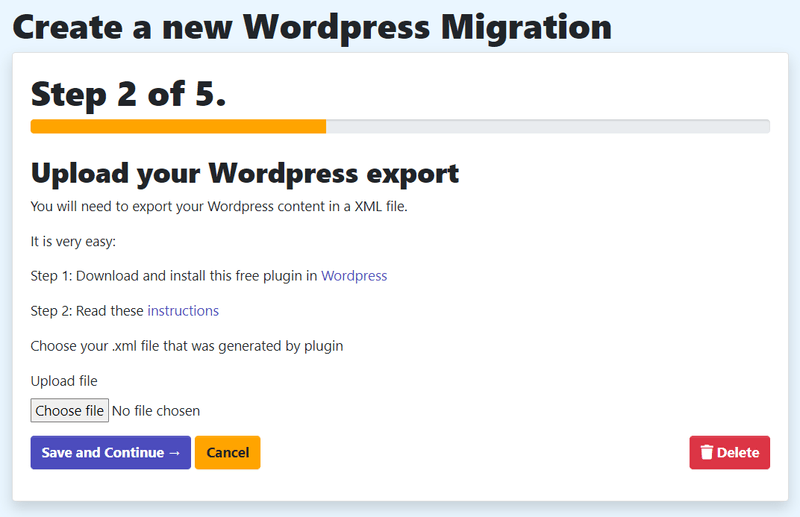
Please read the instructions carefully. You must use the recommended plugin (WP Alll Export) as the PowerImporter data parsing has been crafted based on the file structure of this specific plugin export.
- Once you have uloaded your XML file, click on Save.
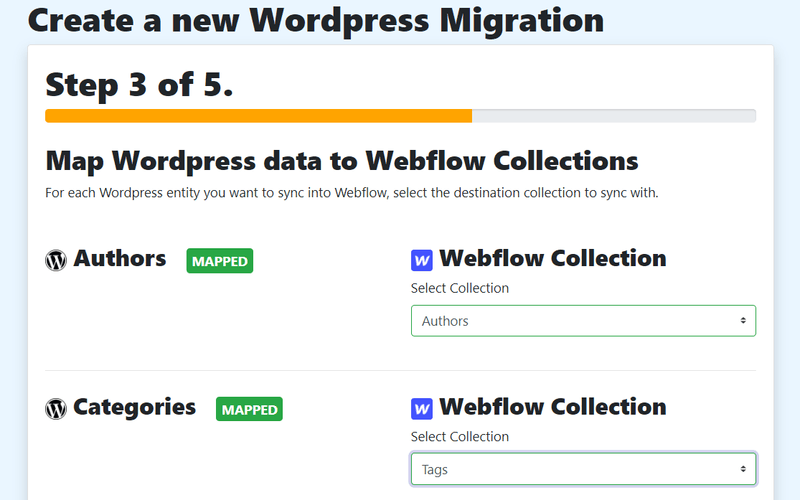
Step 4: Map your Wordpress data categories to Webflow collection
- Your Wordpress data and Webflow collections will appear automatically in each section.
- Choose the Wordpress data categories you want to sync on the left-hand side.
- Choose the Webflow collection(s) you want to sync each wordpress data field to on the right-hand side
- Once all has been set up correctly, you will see a green "Mapped" field appear.
- Click on "Save"
Step 5: Map your Wordpress fields to Webflow fields
- Your Wordpress and Webflow fields will appear automatically in each column (Wordpress: left column; Webflw: right column).
- Choose the Wordpress data fields you want to sync on the left-hand side.
- Choose the Webflow fields you want to sync each wordpress data field toon the right-hand side
- Once all has been set up correctly, click on "Save"

You are now ready to do your migration!
Step 6: Test your migration
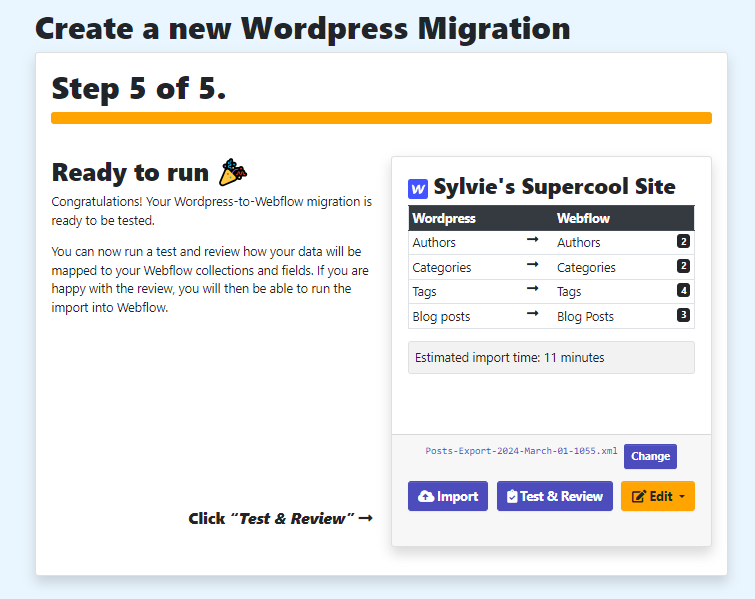
- You can choose to run your migration immediately, or conduct a "Test & Review", which we recommend.
- Click here to find out more about testing and reviewing.
- If there are an errors, corect them in WordPress and run another data export.
Step 7: Run your migration
- When you are ready, click "Import", and see the magic happen!

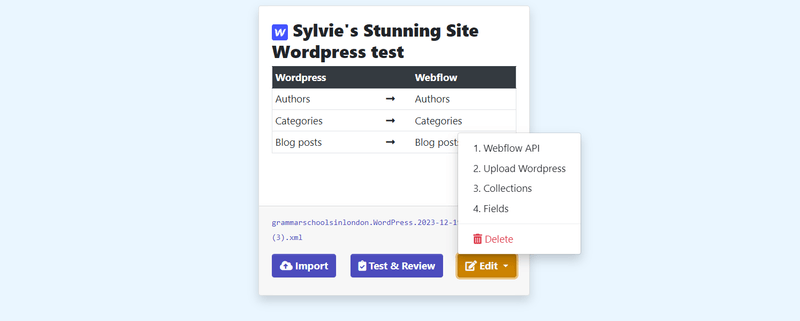
Please note you can always come back later on and amend any of your setups by clicking on "Edit".
You can also delete your migration by clicking on "Delete". Please note all migration data is lost in PowerImporter once you have deleted it.
Good luck with migrating your WordPress blog to Webflow!
Test & Review your WordPress to Webflow migration
Using the Test & Review function before migrating
Before you run your WordPress to Webflow migration, you should use the Test & Review function to find and amend any errors. We recommend that you do so in order to spot an errors and have the opportunity to correct these before running your "real" migration.
Common errors include:
- Title too long: over 256 characters (this is a Webflow limitation)
- Image size too large: over 4MB (this is a Webflow limitation)
- No slug: if you are migrating your slugs from WordPress to Webflow, posts without a slug in WordPress will not be exported to Webflow at all.
Logs when testing & reviewing
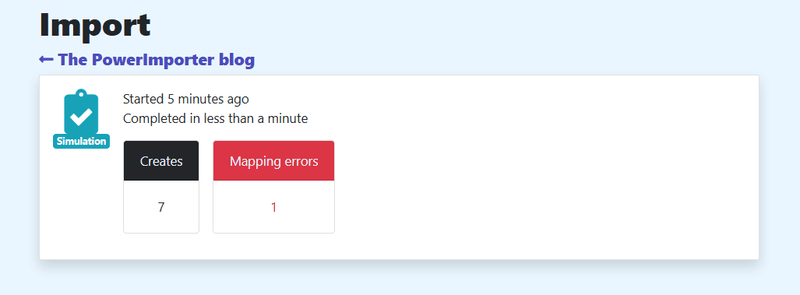
Testing and reviewing enables you to run the sync without calling the Webflow API - it means you can test it and see if it will work.
Your log will show whether there are any issues, which would show in a red column.
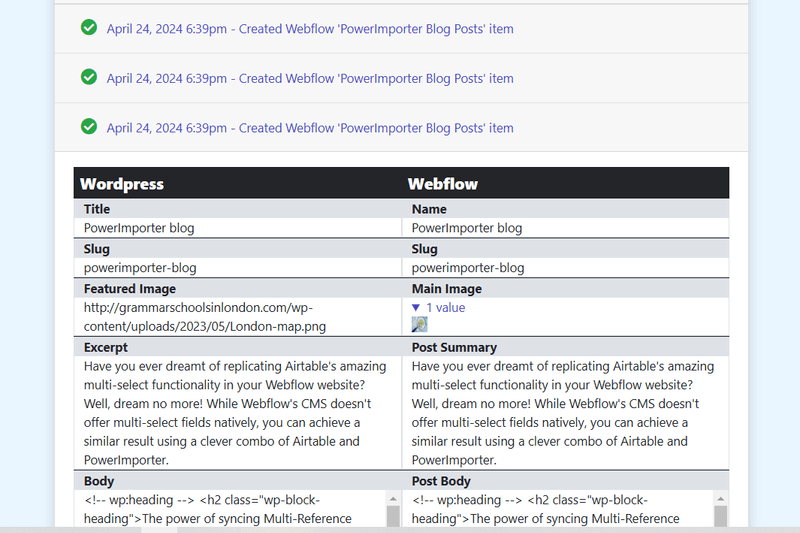
The screenshot below shows a fully successful test:

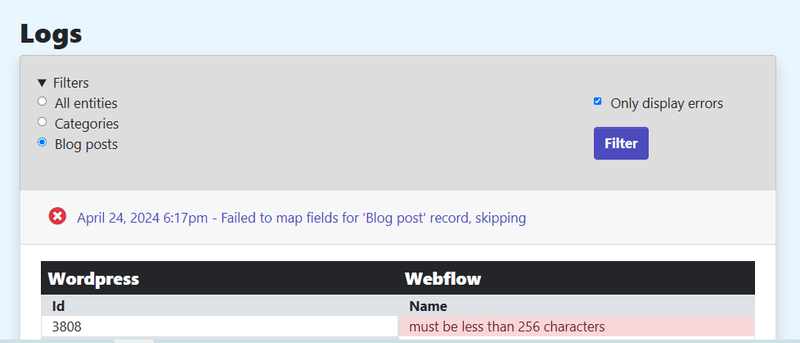
The screenshot below shows a test with an error:
Error filtering
- You can filter the logs by Webflow category (on the left-hand side). They will be listed automatically by PowerImporter.
- You can also filter to only display the errors (on the right-hand side).
- The error log will show you which field of the blog post has an error. For example: name, slug, image, etc.
- Your error log will also tell you whether the blog post is skipped due to the error. Skipping means the blog post will not be imported to Webflow at all.
If you want more detail on one blog post, you can click on view: this will show the exact data that would be transferred over to Webflow.
Downloading your error logs
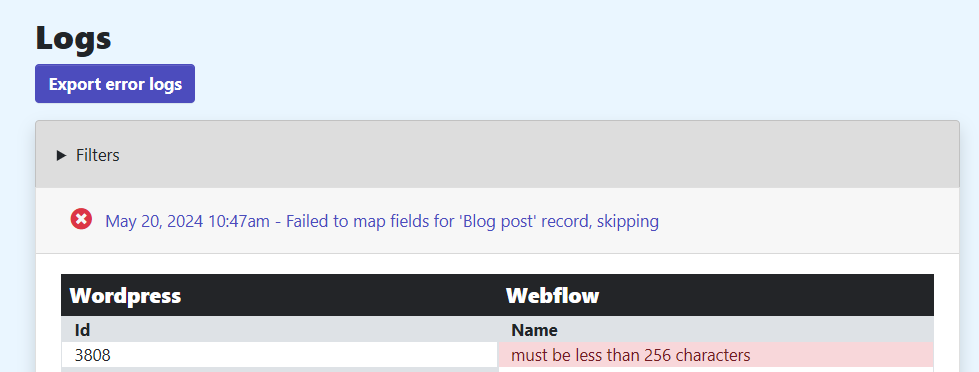
You can download your error logs into an Excel file.
This can make it easier for you to view all your errors at once.
Click on the "Export error logs" button, and an XLS file will be produced and downloaded to your computer.
If your have errors
We recommend that you correct your errors in WordPress before running your "real" migration.
- Correct your errors in WordPress
- Run another data export
- Go back to PowerImporter > Your syncs >go to your migration> Step 2 "Upload WordPress"
- Upload your new file- Test and review again in Step 4
You can of course ignore the errors if they are not important to you.
Happy migrating!
Good luck with migrating your WordPress blog to Webflow!